» On-line Demo
Mission
Trails Regional Park Habitat Management
Task Description
MTRP rangers would like to use the Pocket PC and GPS to perform a data update or to determine the new location of invasive plants. This task is one of the representative habitat management works. The following tutorial will show you how the park ranger can use ArcPad to:
1.
Connect to the wireless ArcIMS Image Server via Wi-Fi connections.
2. Review the change detection images (MTRPchange) on ArcPad.
3. Add a new location of invasive plants by using GPS.
4. Perform the GPS logging function.
5. Submit on-line Task Report.
6. Send the updated GIS layer (shapefiles) back to the server via FTP
software (CE FileCommander)
.
Mobile
GIS (ArcPad and GPS) Demo:
Wireless communication:
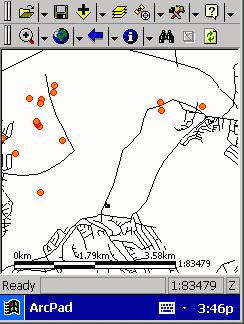
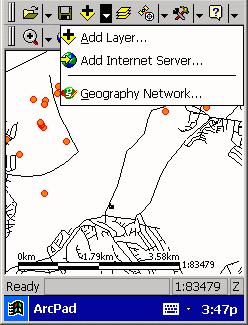
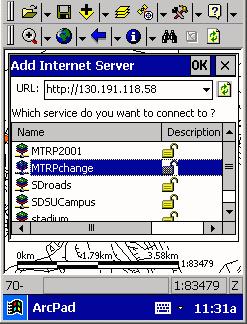
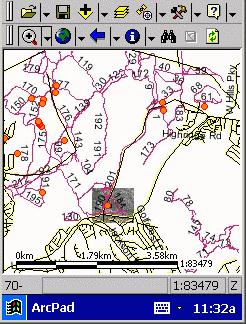
1. Launch ESRI ArcPad software on Pocket PC first. Click on the [open file] to open "Mtrp-1.apm". Then use Wireless Intranet (Wi-Fi) to connect to the "Renoire" notebook IMS Server (130.191.118.58). Click on the "Add Internet Server".

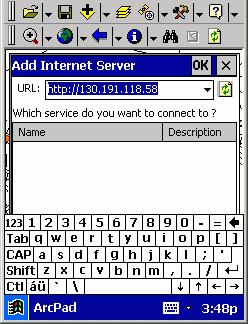
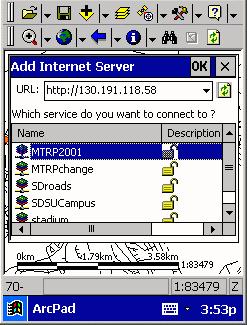
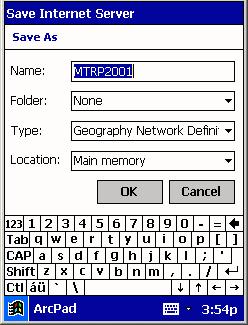
2. Select/Enter "http://130.191.118.58" in the URL box. Then click on the refresh icon (the green one). Then select "MTRP2001". Click on [OK], [Yes] to add the new remote sensing images into the ArcPad.
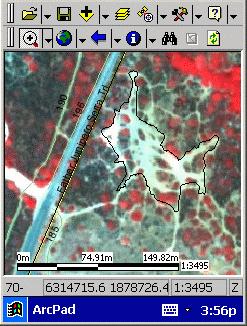
3. Use the [Zoom-In] icon to zoom in the area of BMX site.

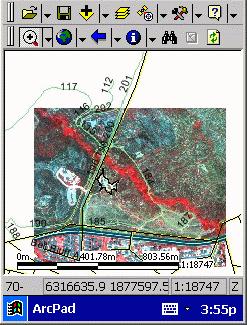
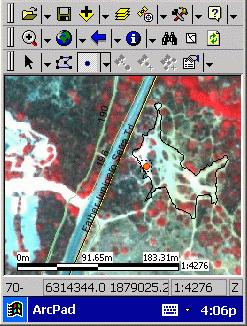
4. The next step is to add another layer from ArcIMS Image Server, called "MTRPchange". This image will indicate landcover changes based on the comparison of ADAR images captured in 2000 and 2001.
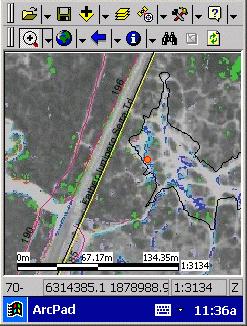
5. The colored areas in this image indicate the different changes (Change detection index table).
![]()
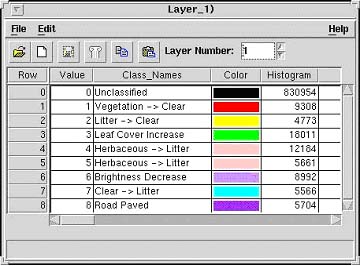
Park Rangers or habitat resource managers can use this information and combine it with GPS data to track changes in land cover and habitat quality.
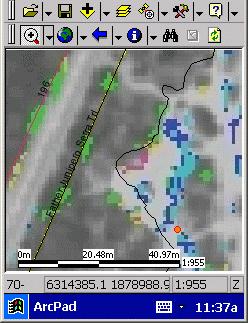
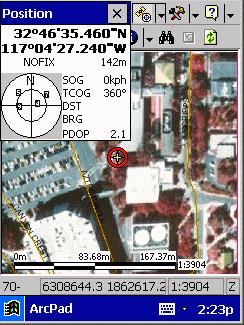
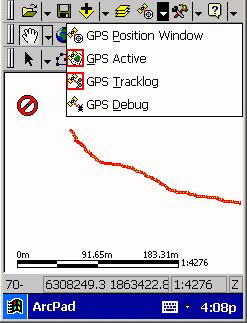
6. Based on the change detection image, the park ranger found a new location of invasive plants. The next step is to activate the GPS tracking systems and add the new location into the GIS data sets. Turn on the [GPS Position Window] first.

![]()
7.
The next step is to open the GIS layer [Click on the layer icons]. Then
click on the [Pen] checkbox for [sensetest.shp] layer (to activate the
edit mode for senstest ArcView shapefile).
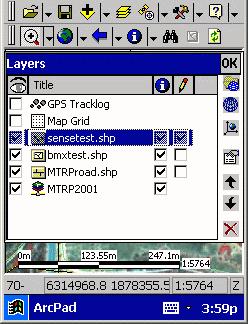
![]()
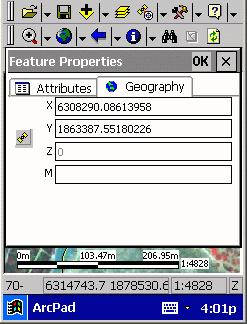
8. The new editing toolbar will show up. Then click on the "Dot" icon to begin the editing procedure. Click on the "one GPS dot" icon to input a new location of sensitive plants. The new [Feature Properties] window will pop up. Now, enter the name of species "pampas grass". Click on the [Geography] tablet, then you will see that the X, Y, Z coordinates values are received from the GPS signals.
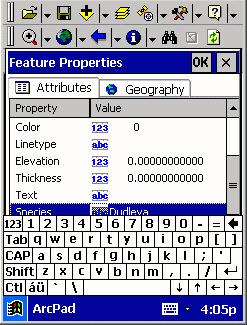
![]()
9. The next step is to perform the GPS logging functions. Active the GPS Tracklog. Then walk around the area. You will see the ArcPad log the movement automatically.
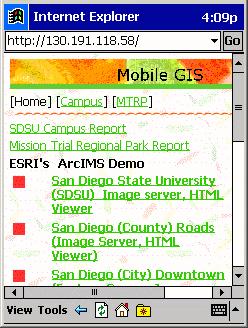
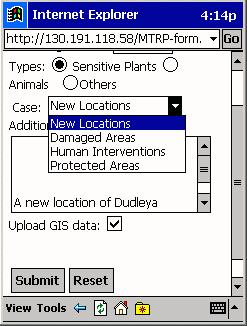
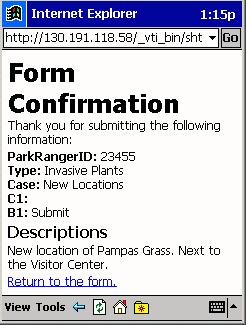
10. The next step is to complete the report from the Pocket PC to the Web Server on "renoire". Open the Pocket PC version of Internet Explorer first. Enter/choose the "130.191.118.58" IP address. Click on the MTRP report. Enter the report as Category: [Invasive Plants] Case: "New Locations", Description: "A new location of Pampas Grass". Then click on the Submit button. This report was sent back to the "renoire" web server automatically via wireless communication.
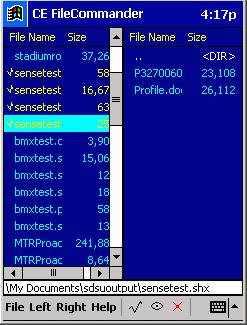
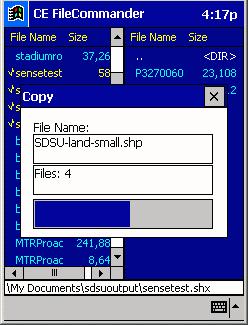
11. The final step is to use FTP to upload the changed "sensetest.shp" file from the Pocket PC to our renoire server. Open the [CE FileCommander] first. Then click on the "Right" icon, select "130.191.118.58" to FTP the file.
12. On the right window, select "sensetest.xxx" files first.
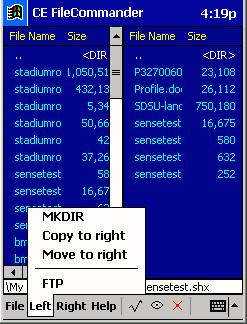
Then click on the "Left" icon and choose [Move to right]. This
uploaded the "sensetest" shapefile to our server. Mission completed!
Note: This demo combine the Mobile GIS software. ArcPad, GPS, and Local
Wireless Network. ArcPad is developed by ESRI. The CE FileCommander is
a freeware developed by a private software company (Abisoft)
Copyright © 2002 San Diego State University- All Rights Reserved