The cartographic default settings of GIS software are poor, which means that the user has to have good cartographic experience to produce sound maps, which some users might be lacking. Furthermore, even when user have the required knowledge, making the necessary cartographic changes is still very time consuming.
Therefore, cartographic agents can ease the map making process by providing cartographic information and saving time.
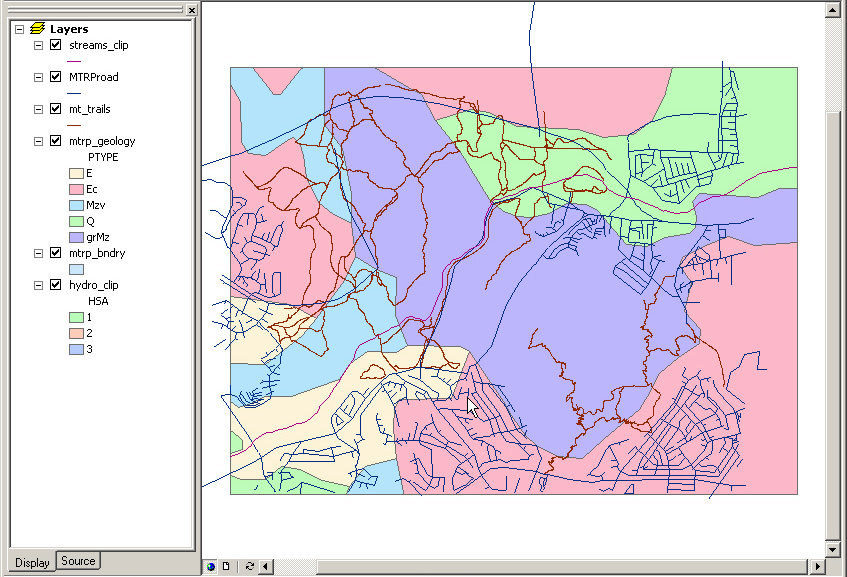
Here is an example of the poor quality of a map using the default cartographic settings of ArcMap:
As you can see on the picture above, it is very hard to combine information from the different map layers because of bad cartography. This is where the cartographic agent comes into play. The cartographic agent gets information from the application (e.g. which layers are present, what colors and symbols are used etc.) and suggest how to improve the cartography of the map, making it much easier to analyze. The cartographic agent interface looks like this:
![]()
Tab 1:
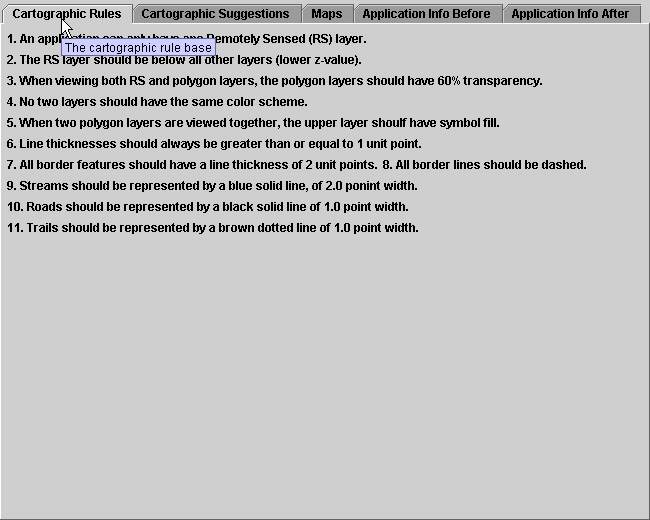
As seen on the picture above, the cartographic agent has 5 different sections, represented by 'tabs'. The first tab is the cartographic rule base, where all the cartographic rules are listed.
Tab 2:
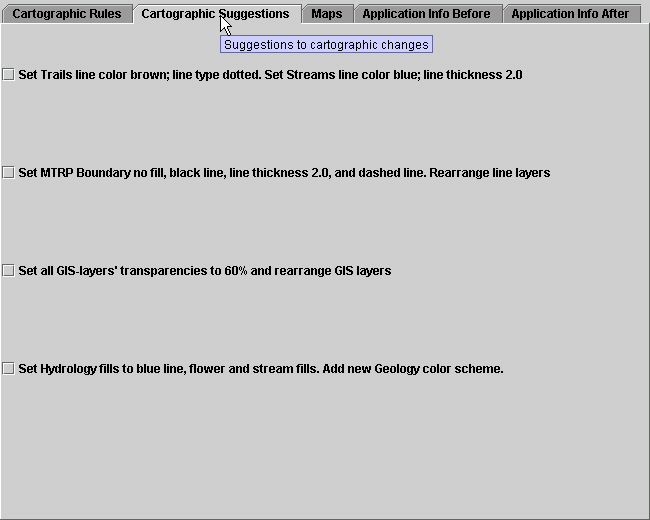
The second tab has the cartographic suggestions, which are created based on the present state of the application scenario and the cartographic rules you saw in the previous tab. The number of cartographic suggestions accepted is entirely optional. However, for optimal visualization of the data, it is recommended to accept all of them.
Tab 3:
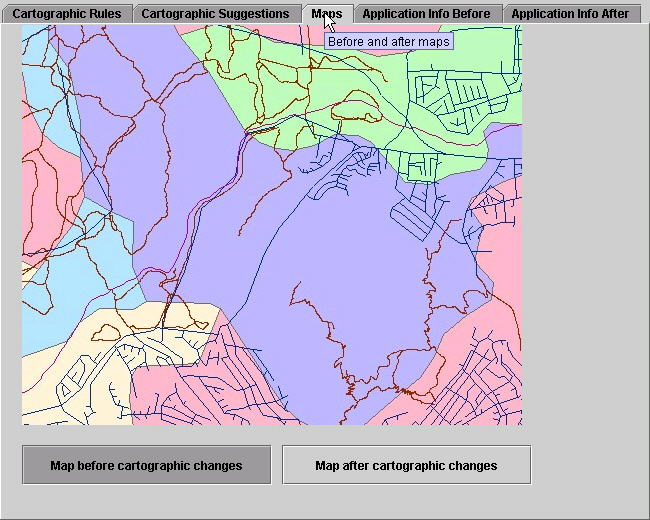
The third tab is the maps tab, which contains two maps: A 'before' map where none of the cartographic suggestions are accepted, and an 'after' map, which reflects the cartographic changes based on which cartographic suggestions the user chose to accept.
Tab 4:
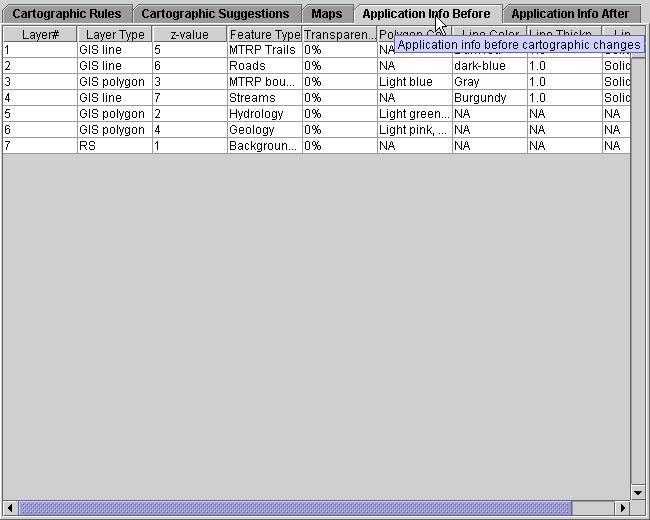
This table shows the different properties of the layers present in the application before any cartographic changes are accepted.
Tab 5:
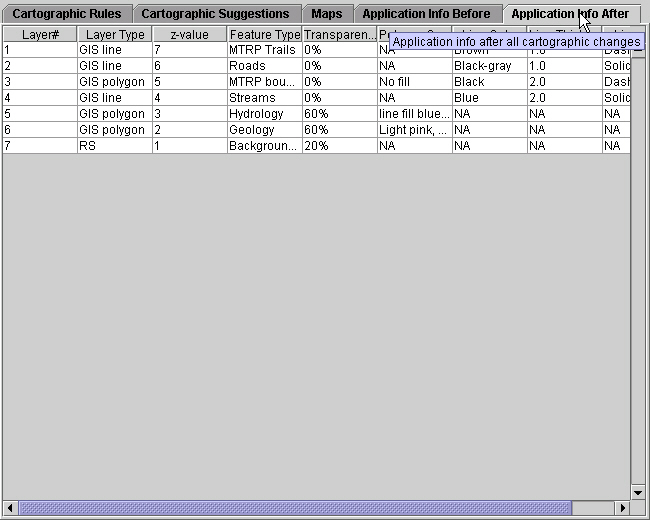
The last tab shows the application information after all the cartographic suggestions are accepted.
Now, it is time to start the tutorial. Click the button below when you are ready.